Learn how to create complex structure surfaces.
Take a look at the video below, showcasing the Overlay Surface tool for structures in MudShark
Create surfaces that are otherwise not possible using surface overlay.
Sometimes you’ll be given structures with internal surfaces defined by contours / spots or even both. This is often the case for structures such as carparks, roads or footpaths, whose surfaces must match either the existing or design levels.
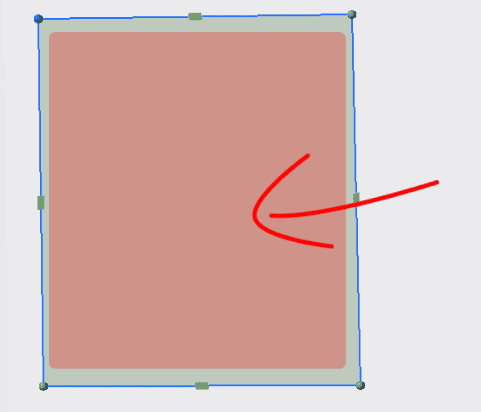
The overlay options can take a simple surface like the one shown below…
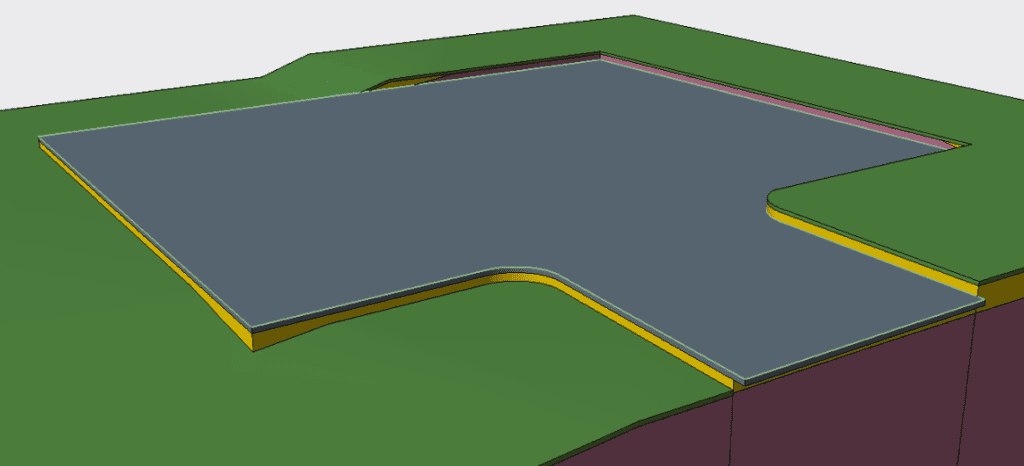
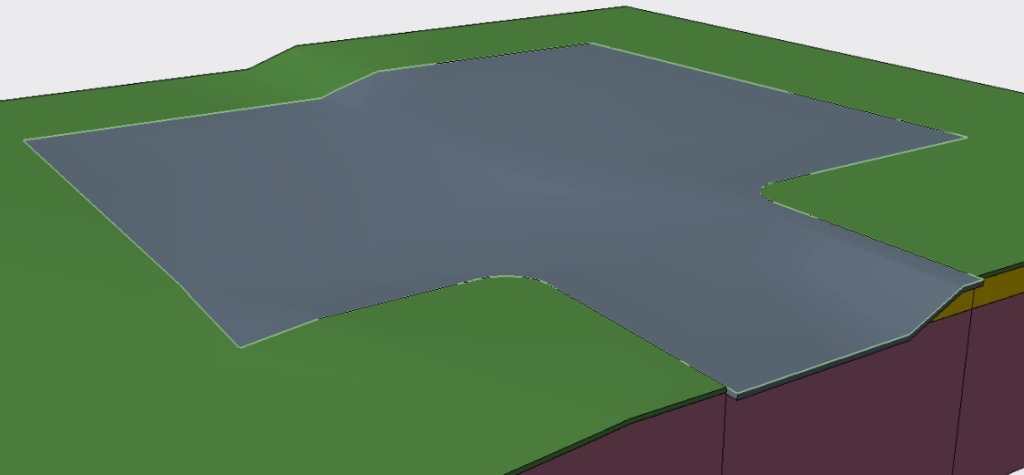
And transform its surface into one which matches the surface levels.
How the individual Overlay options work
There are two seperate Overlay checkboxes, Overlay: Surface and Overlay: Points.
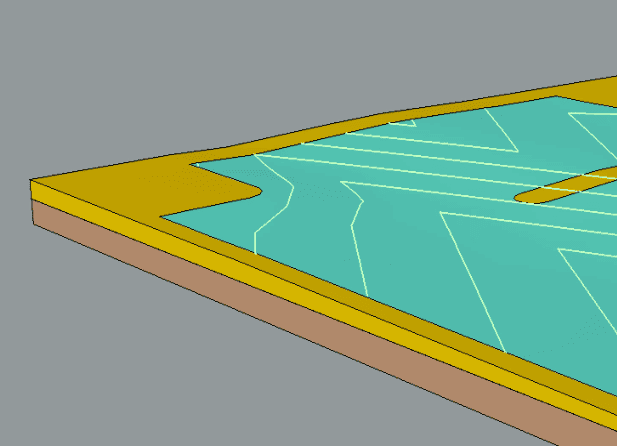
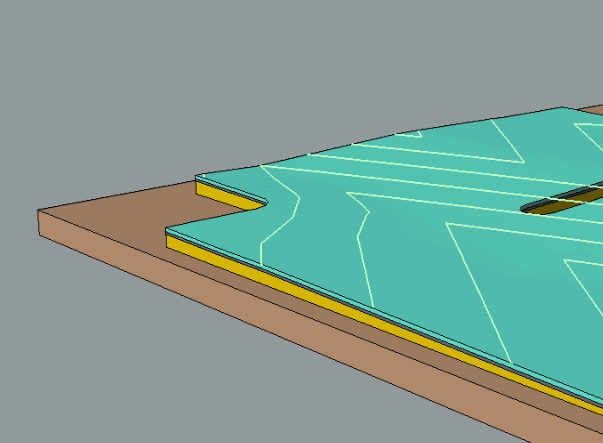
Overlay: Surface will set the internals of the structure to match the final surface levels.
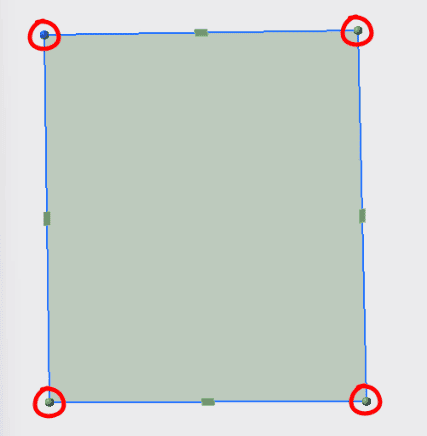
Overlay: Points will match the boundary points to the surface levels.
Be sure to inspect your site in 3D to verify results.
If you’re overlaying a structure with proposed Spots/Contours it’s important to set your calculation flags correctly, by default MudShark will use the proposed surface levels for the Open Ground unless you specify otherwise.
In some cases, you’ll have surface levels for both internal surfaces and open ground landscaping, this is perfectly fine, however, keep a close eye on the spots where the structures blend into the open ground, some cleanup may be needed for complex sites.
When only working with structures, be sure to enable “Only use proposed contours and spots for structures” inside the calculation window, this will tell MudShark not to Cut & Fill the open ground based on the proposed surface levels.